|
This is fairly simple to do
yourself, to start off, you need some Plexi-glass. This can be found at
a glass shop, Home Depot, or Lowes. My case was made out of 3/8” Plexi-glass,
Ľ” can be used but you may need to re-measure. The glass can be cut to
size with a regular table saw.
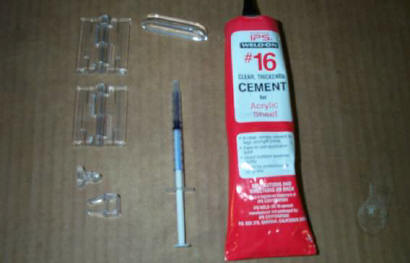
Also, you will need some acrylic
glue and acrylic hardware (latches, hinges , and a door pull). You may
be able to find these locally or you can get them from
AllAcrylic.com which is where I did. Prices are reasonable and if
you spend $30 you get free shipping.
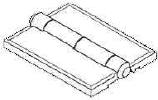
Here is what hardware you need:
|
1 pair of hinges 1-1/2” x 1-3/4” |
 |
| |
|
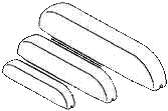
|
1 Acrylic pull (Small) |
 |
| |
|
|
1 door catch |
 |
They also sell the glue and an
applicator ( I used a small syringe).
Next, you need some 80 grit,
and 240 grit sandpaper ( or something close) which can be found at
Wal-Mart. The 80 grit is used for the glue joints and the 240 is used
for smoothing the edges.
Tools needed: Table saw, Jointer, Electric sander,
Clamps, and a Propane torch.
1) Cut the Plexi-glass : 2 pcs
21” x 11” ( Front & Back)
2 pcs 10 Ľ” x 3” ( Sides)
2 pcs 21” x 3” ( Top &
Bottom)
Note: These dimensions are
FINISHED dimensions. I recommend you add Ľ” to each measurement so you
can dress the edges.
2) The table saw
will leave a very rough edge. If you have access to a Jointer, you can
smooth the edges somewhat with it.
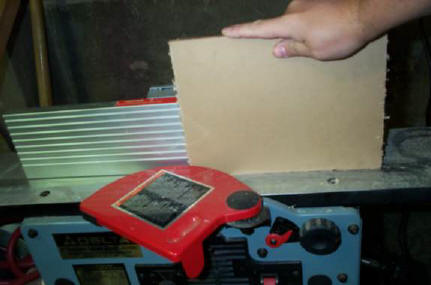
Make sure the depth is set for
no more than 1/16” or it will chip the glass. Run all of the edges
through once then measure for the final size. If it is still not the
right size, continue to run the edges through until it is the right
size.
3) Using the sander with 80 grit
paper, sand the edges so they are visibly smooth.
Using the sander with 240 grit
paper, sand the edges that will be seen ( All 4 edges on the front &
back, and 1 edge on each of the sides, top & bottom). Sand these as best
as you can they will be flame polished to look like finished glass.
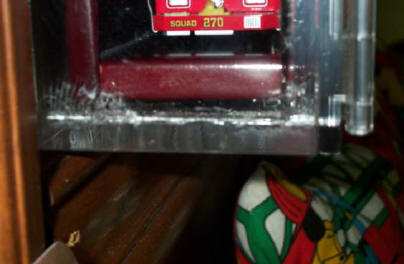
FLAME POLISHING:
Flame polishing is ,
economical method of edge polishing that is preferred by some
fabricators. Do not use this method on edges that will be glued or
crazing will result (The fine cracks to the
left)
The flame should be bluish,
nearly visible, approx. 4” long, and narrow. Hold the torch so that the
tip of the flame touches the edge of the acrylic sheet. Move the torch
along the edge at a speed of approx. 3”- 4” per second.
Overheating and bubbling may
occur if the flame is moved too slowly. If the first pass does not
produce a completely polished edge, allow the piece to cool; a second
pass will often improve the surface finish.
4) After all the edges are done,
wash the glass with soap & water. DO NOT use
a cleaner such as Windex The ammonia in it will cause the glass to
turn yellowish over time.
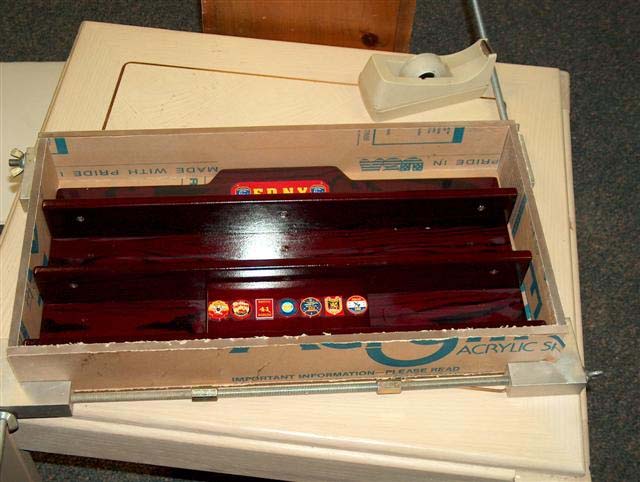
5) Dry fit the bottom,
sides, top, and bottom. Check to see if the wood display will fit inside
still. It should be a tight fit. If it seems to be too tight on the top
and bottom, don’t give up just yet. It will fit.
6) Glue the sides together. Be
careful the glue is liquid and a little bit goes a long way. That is why
I used a syringe, put a fine bead along one edge and butt together. The
glue sets pretty quickly. If you have a frame clamp, you can glue them
all together. If not, glue one joint at a time. You can use anything on
the inside to square it up. Use masking tape to hold the joint until it
is set.
7) Glue the back on next.
8) If you plan on mounting the
case to the wall, drill holes through the back.
9) Lay the lid on top and tape
it in place. Place the tape where its not in the way of your hinges and
door pull. Glue hinges and door pull ( Allow
the hinges to dry COMPLETLEY or they will break ).
| 10)
Glue the female end of the catch to the inside of the case The opening for the male end should be side
ways not up and down. This way when the door is shut, the catch
keeps it from sagging. |

|
| |
|
|
11) Snap the male end
into the glued catch, put a little glue on it and close the door. Tape
the door in this position until it is COMPLETLEY dry. |

|
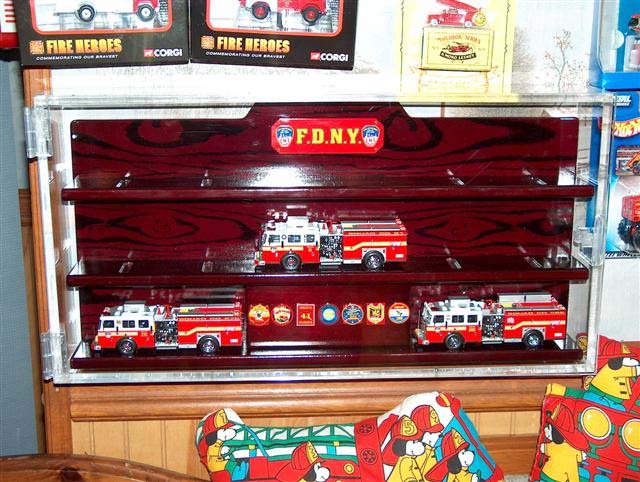
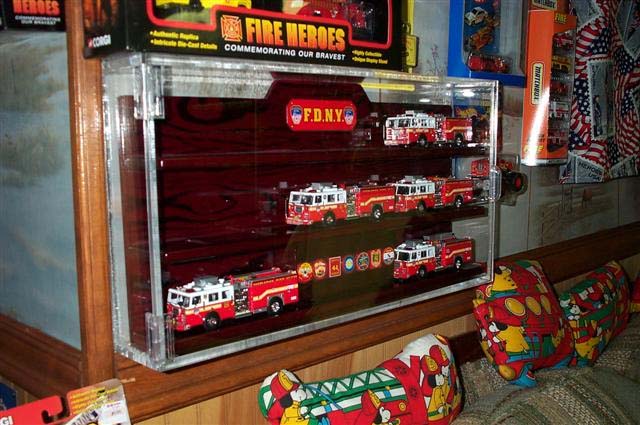
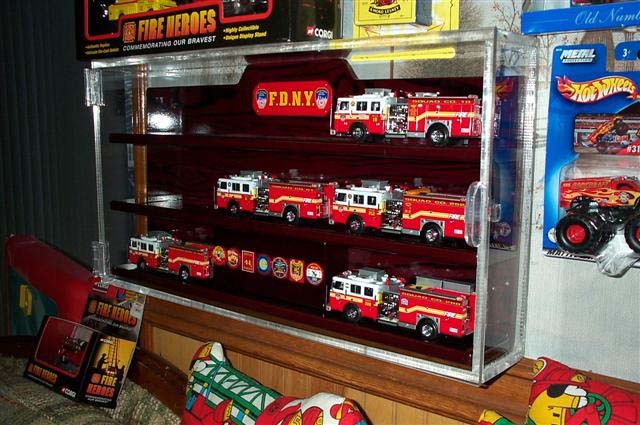
12) The case is complete!!
Check for fit. I made mine snug so it wouldn’t come out. What I did was
put the wooden case in the freezer for a few hours and I let the case
set in the sun. Freezing the wooden case made it shrink, the sun
expanded the case. Take the case and mount it, then slide the wooden one
in. Once the temp was equal, I had a snug fit.
Any questions, comments?
Contact me at
MarkU88@ntelos.net

Return to
Collectors Helping Collectors
|