Class 325 WW II rig
Posted: Mon Jul 23, 2018 5:03 pm
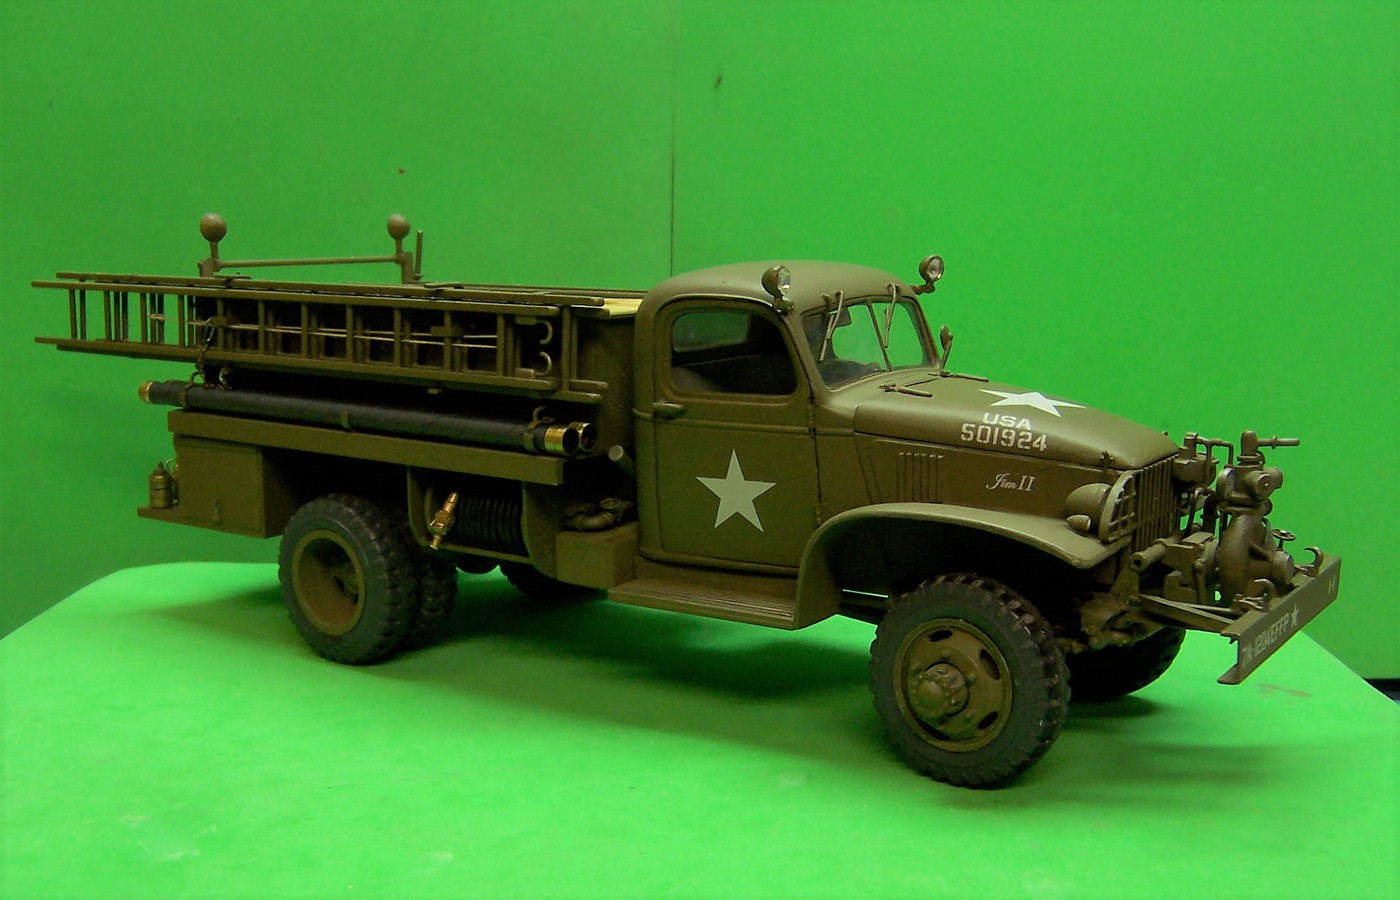
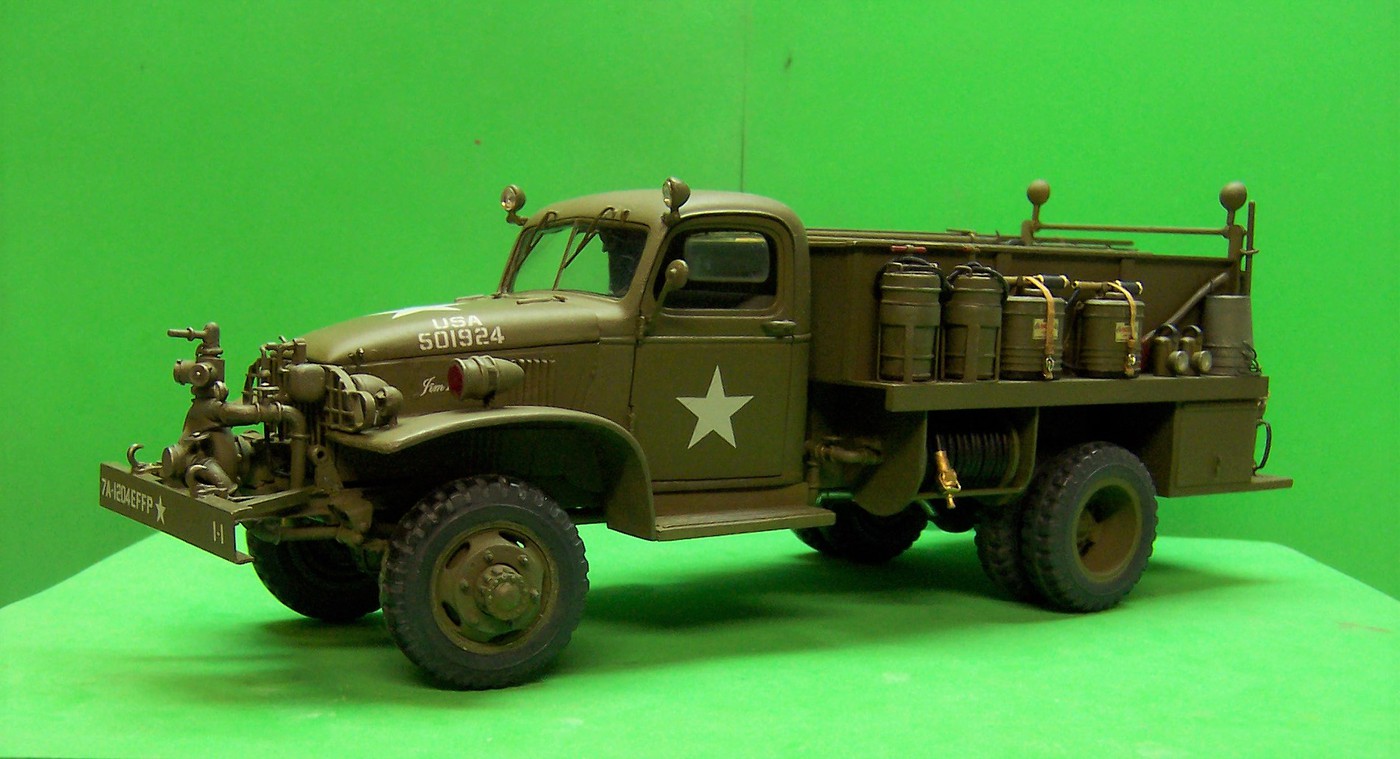
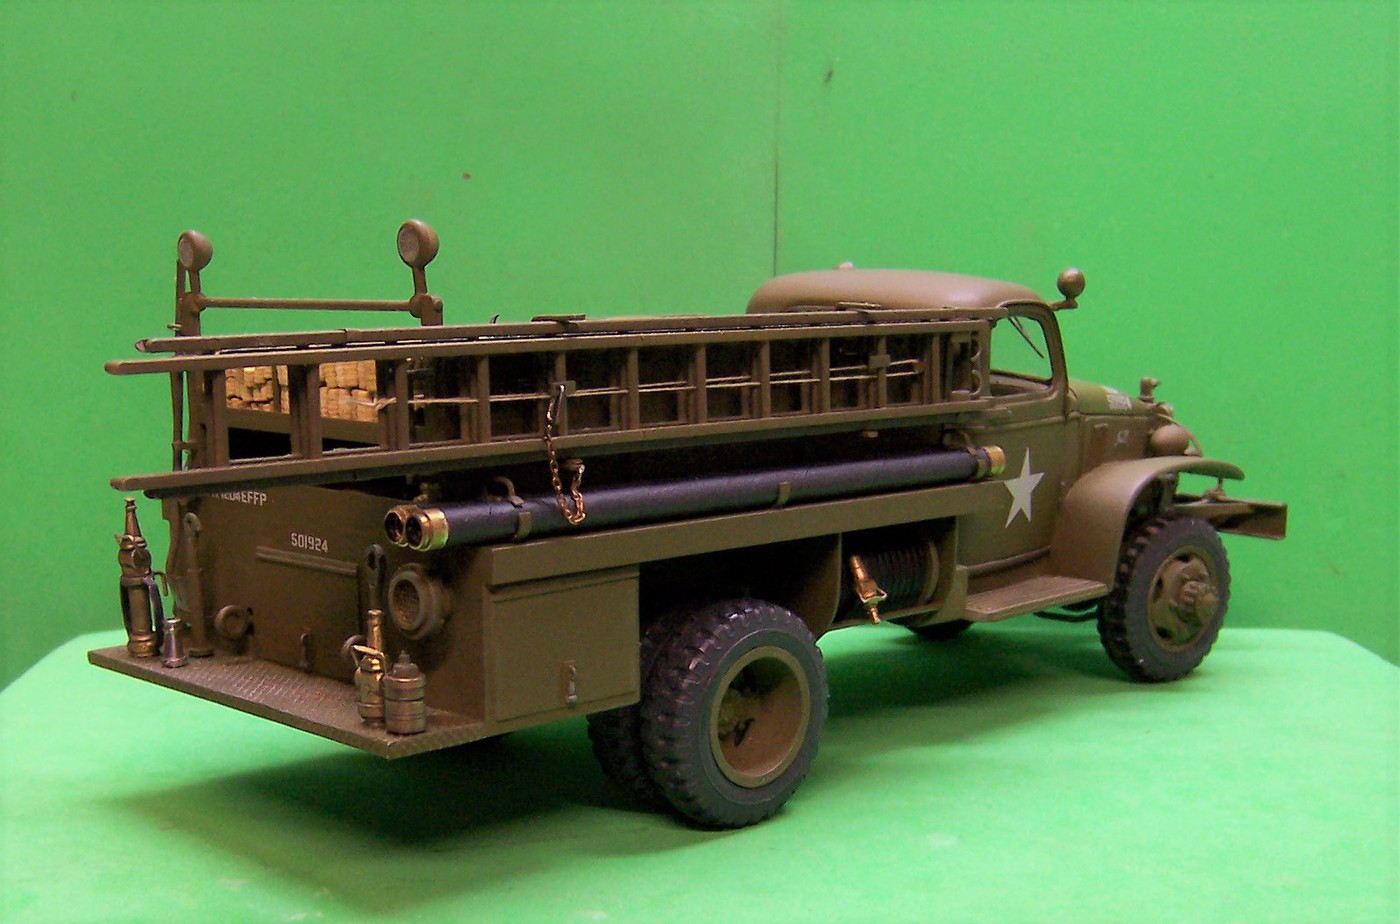
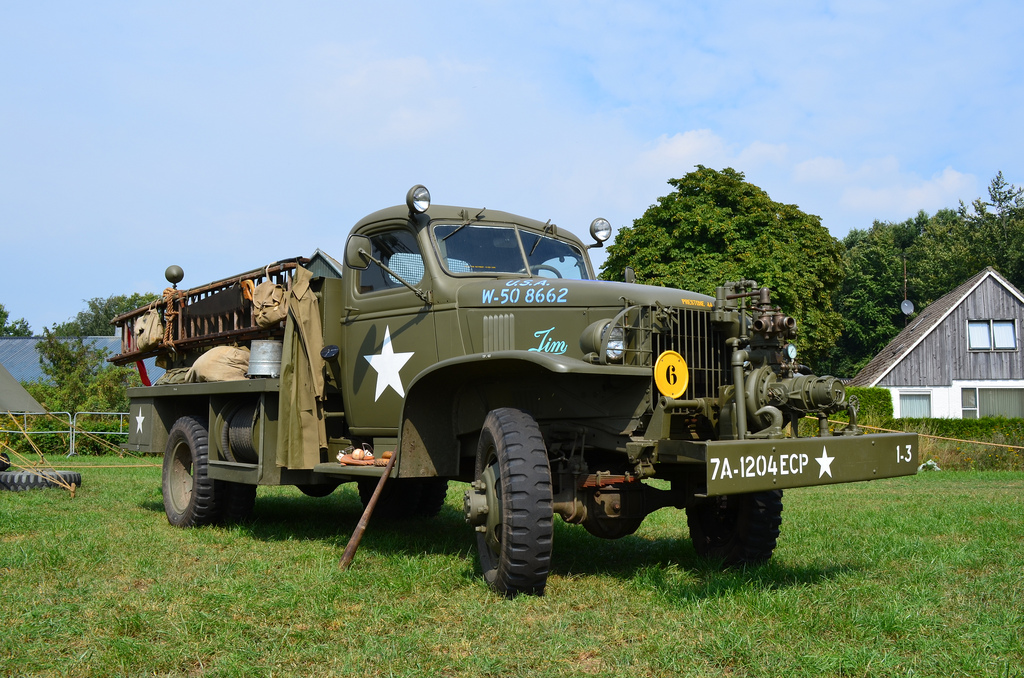
For the past few weeks I've been working on a new project that will ultimately end up in Hawaii. Back in WW II the US Army used a variety of equipment including this Class 325 front mount pump unit built on a 1.5 ton Chevrolet chassis. I was asked to build this piece for a WW II veteran who served with a fire fighting unit using these rigs in North Africa, France, Germany and Italy. So in addition to creating a bit of history it is being done to honor one of the "Greatest Generation".
 Hosted on Fotki
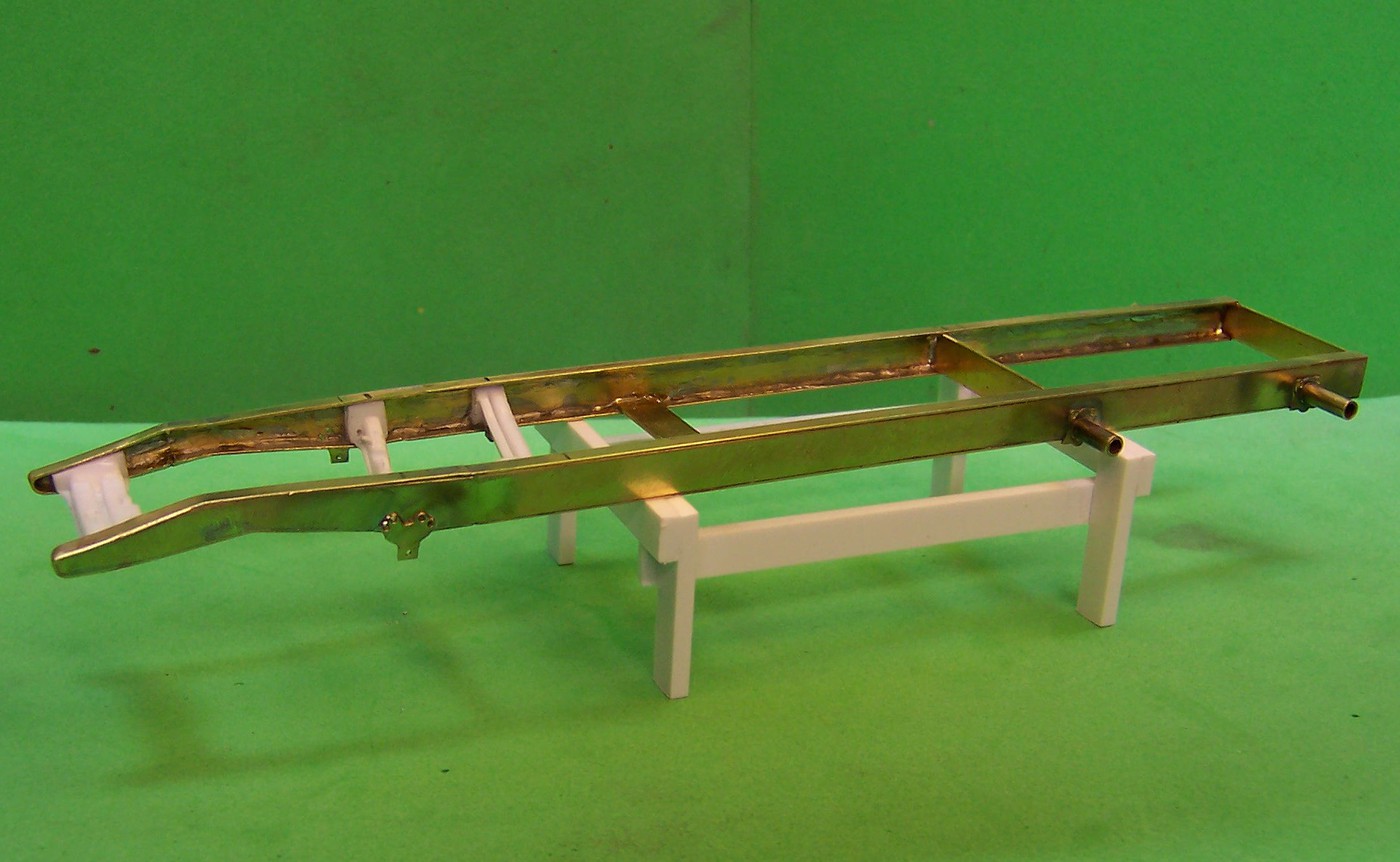
Progress has been slow as this model has to be scratch built from the ground up. Here is where it got started.
 Hosted on Fotki
The frame is soldered brass, taken from drawings and information found in some technical literature for Chevy truck frames.
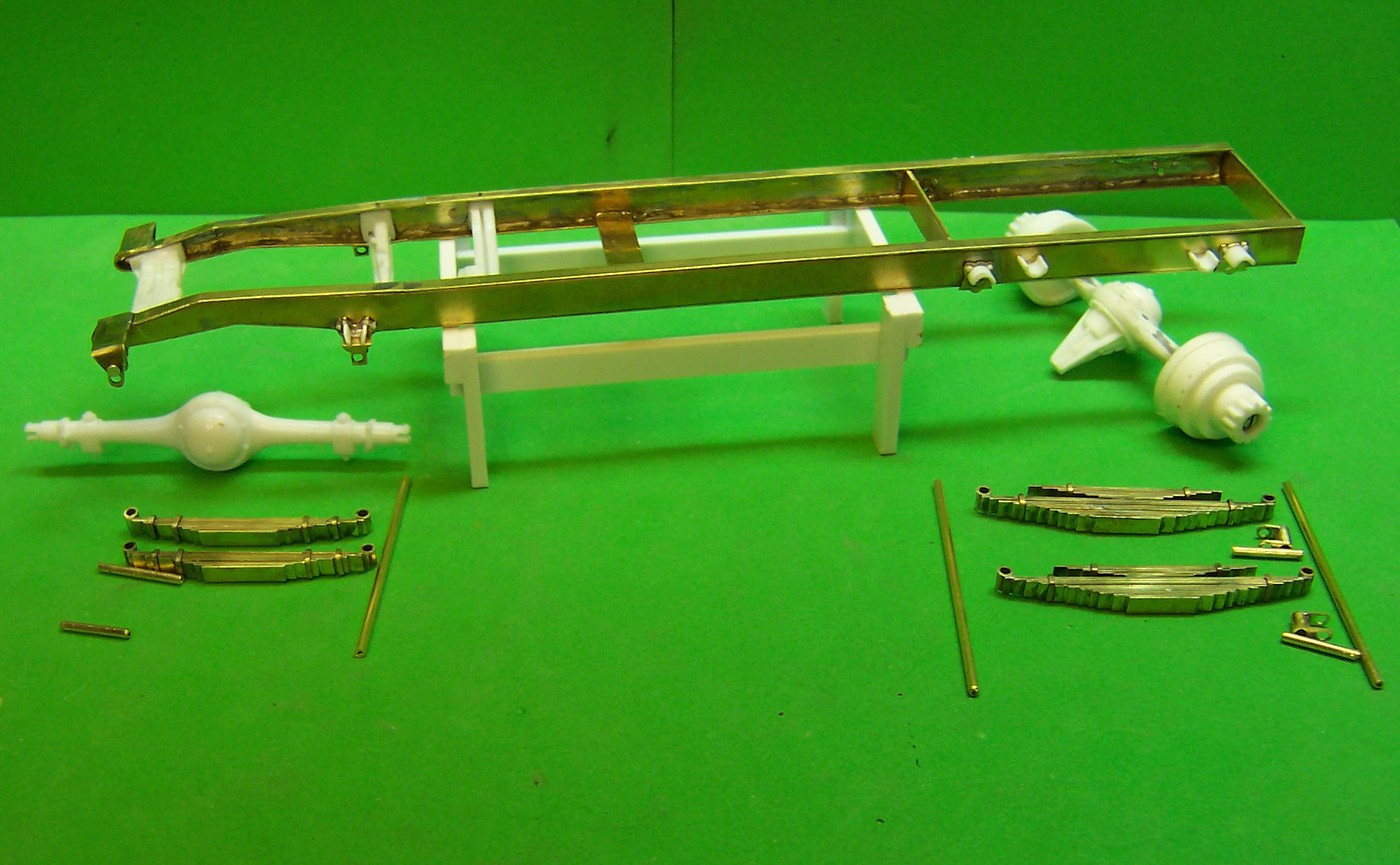
With the basic frame done the springs and mounting points were completed again using brass with a bit of plastic thrown in where a little detail was needed.
 Hosted on Fotki
The springs are made of 1/8 x 1/64 strip brass, soldered together at the ends. Attachment points are brass tubing.
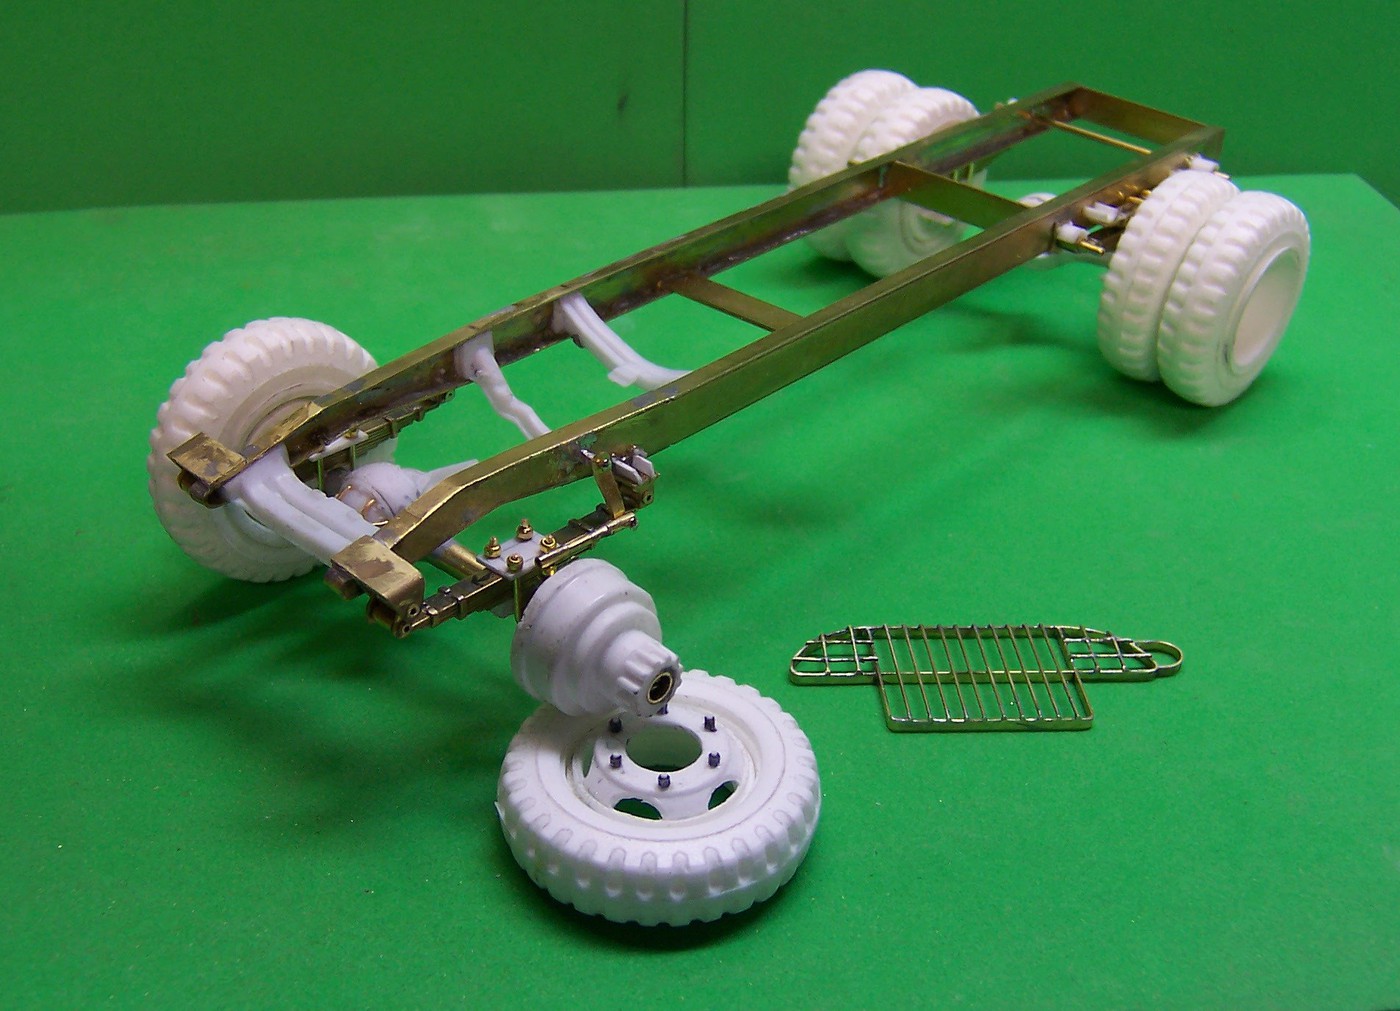
Next are wheels and axles. The axles are resin castings with the centers drilled out for brass tubing. The tubing gives strength to keep the resin from sagging over time and to allow for interior axles that allow the wheels to spin. Front hubs are made from brass channel and tubing. Inside the small tubing both front and rear is a piece of plastic rod superglued in place and drilled out to accept a small round head screw. The screw head is slightly larger than the brass tube that is inside the wheel so that when all is put together the wheels stay on.
 Hosted on Fotki
Beside the frame is the grill guard for in front of the radiator. Measurements of the actual grill were taken on a similar rig in Chatham Township, NJ that I paid a visit to last month. The grill guard pieces are strip brass and small brass rods, all soldered together. Tires are resin castings also made from a similar tire I found in the parts box. A two piece mold was made so that multiple castings can be done.
 Hosted on Fotki
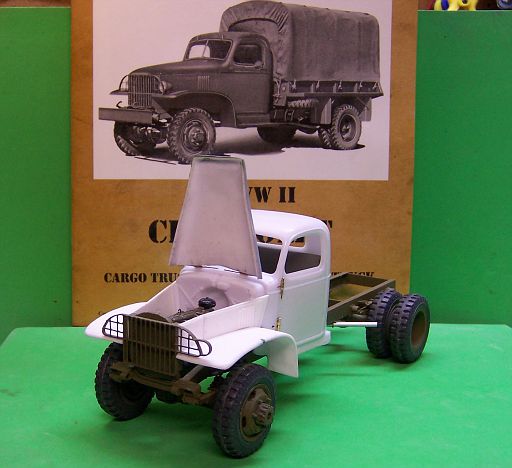
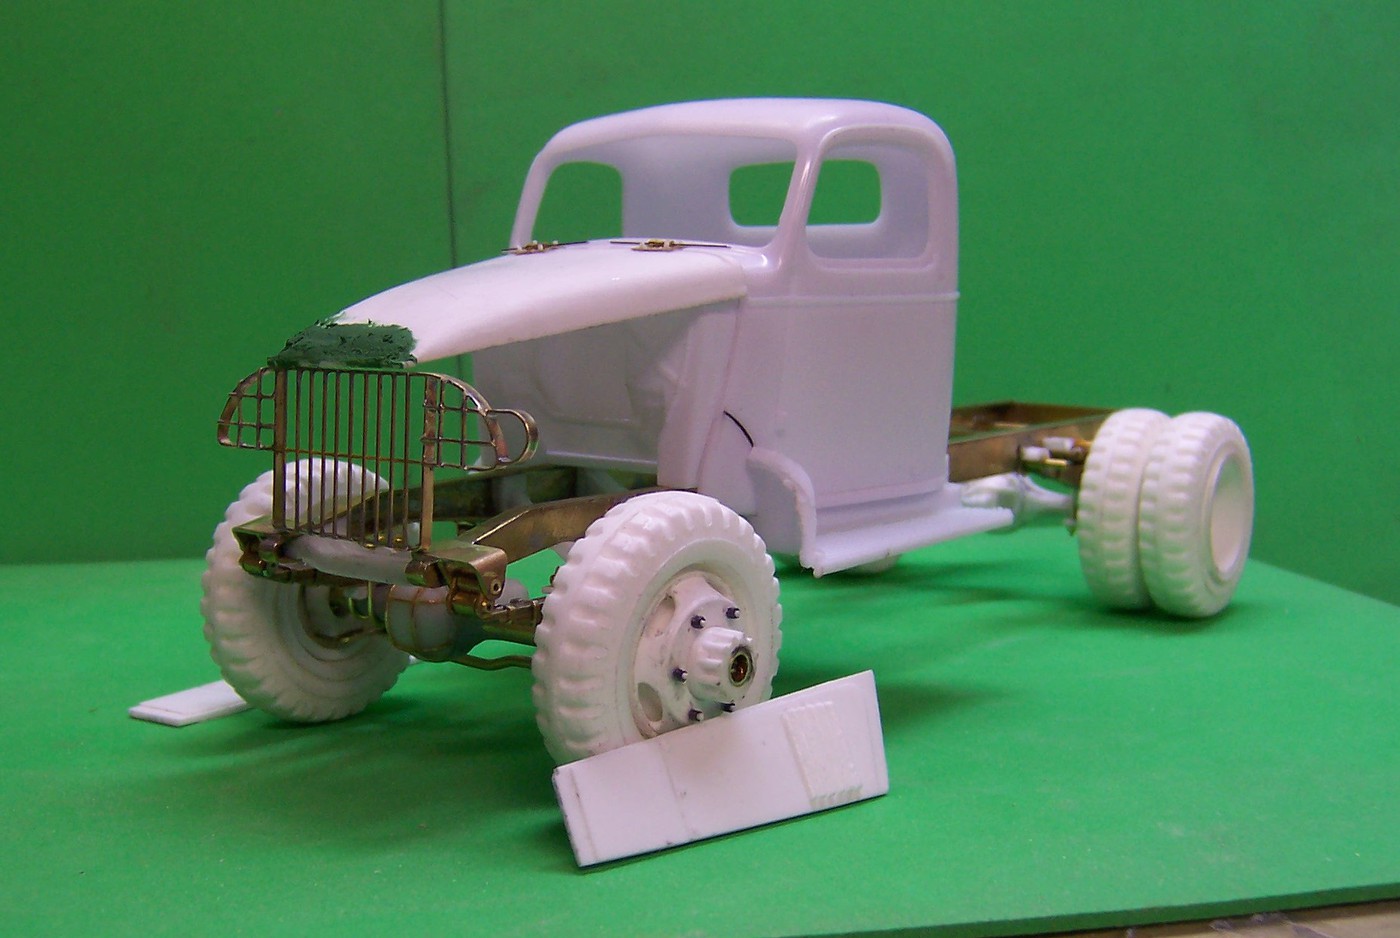
Here's the cab, hood and grill guard in place on the frame. The piece beside the front wheel is the hood side. The cab came from a Revell 1941 Chevrolet pickup kit. The army used the commercial cab and it was not changed from the civilian version except for the gage cluster and some instruction plates. Next in line will be to finish up some frame details and get on with making up the front fenders.
 Hosted on Fotki
Progress has been slow as this model has to be scratch built from the ground up. Here is where it got started.
 Hosted on Fotki
The frame is soldered brass, taken from drawings and information found in some technical literature for Chevy truck frames.
With the basic frame done the springs and mounting points were completed again using brass with a bit of plastic thrown in where a little detail was needed.
 Hosted on Fotki
The springs are made of 1/8 x 1/64 strip brass, soldered together at the ends. Attachment points are brass tubing.
Next are wheels and axles. The axles are resin castings with the centers drilled out for brass tubing. The tubing gives strength to keep the resin from sagging over time and to allow for interior axles that allow the wheels to spin. Front hubs are made from brass channel and tubing. Inside the small tubing both front and rear is a piece of plastic rod superglued in place and drilled out to accept a small round head screw. The screw head is slightly larger than the brass tube that is inside the wheel so that when all is put together the wheels stay on.
 Hosted on Fotki
Beside the frame is the grill guard for in front of the radiator. Measurements of the actual grill were taken on a similar rig in Chatham Township, NJ that I paid a visit to last month. The grill guard pieces are strip brass and small brass rods, all soldered together. Tires are resin castings also made from a similar tire I found in the parts box. A two piece mold was made so that multiple castings can be done.
 Hosted on Fotki
Here's the cab, hood and grill guard in place on the frame. The piece beside the front wheel is the hood side. The cab came from a Revell 1941 Chevrolet pickup kit. The army used the commercial cab and it was not changed from the civilian version except for the gage cluster and some instruction plates. Next in line will be to finish up some frame details and get on with making up the front fenders.


